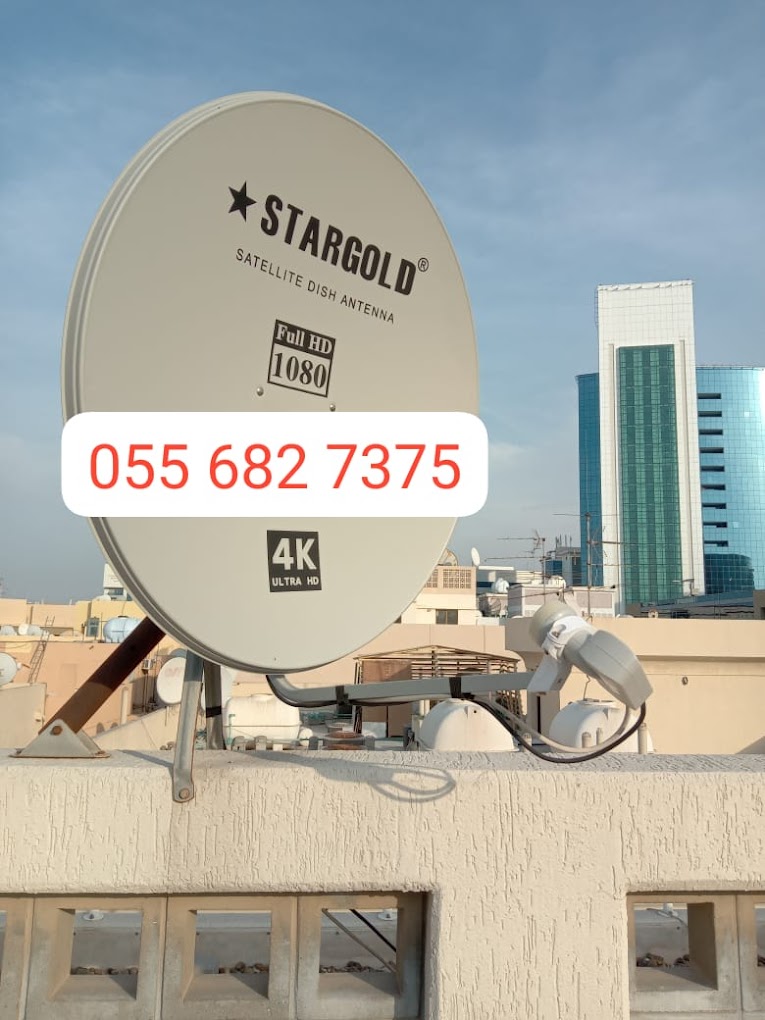
Installing a satellite dish requires careful planning and some basic tools. Here’s a step-by-step guide to help you install a new satellite dish
- Select the Right Location
- Clear View of the Sky: The dish must have an unobstructed view of the southern sky (for the Northern Hemisphere) or northern sky (for the Southern Hemisphere).
- Stable Mounting Surface: Choose a sturdy surface such as a wall, roof, or pole mount. Ensure that the mounting area is away from large trees or tall buildings that might obstruct the signal.
- Gather Necessary Tools and Materials
- Satellite dish kit (includes dish, mounting bracket, LNB, and bolts)
- Ladder (if mounting on a roof)
- Power drill with bits
- Wrenches and screwdrivers
- Level
- Compass or smartphone app for direction
- Coaxial cable
- Signal meter (optional, but helpful)
- Mount the Bracket
- Mark the Holes: Use the bracket as a template to mark the holes for drilling.
- Drill the Holes: Drill the holes into the surface and insert any necessary wall plugs or anchors.
- Attach the Bracket: Use bolts to secure the bracket tightly to the surface.
- Assemble the Satellite Dish
- Attach the LNB: Connect the LNB (Low-Noise Block) converter to the arm of the dish.
- Secure the Dish to the Bracket: Attach the dish to the mounted bracket, leaving the bolts slightly loose so that you can adjust the direction.
- Point the Dish
- Determine the Direction: Use a compass or a satellite finder app to determine the azimuth (compass direction) and elevation (angle above the horizon) for your specific satellite.
- Adjust the Dish: Move the dish horizontally (azimuth) and vertically (elevation) to point it towards the satellite. Tighten the bolts slightly as you get closer to the correct position.
- Connect the Coaxial Cable
- Run the Cable: Run the coaxial cable from the LNB on the dish to the receiver inside your home. Ensure the cable is securely connected and properly waterproofed if it’s exposed to the elements.
- Connect to the Receiver: Attach the coaxial cable to the satellite receiver.
- Fine-Tune the Signal
- Use a Signal Meter: If you have a signal meter, use it to fine-tune the dish position until you get the strongest signal. If not, you can use the receiver’s signal strength display.
- Tighten All Bolts: Once the strongest signal is found, tighten all the bolts on the dish securely.
- Complete the Installation
- Seal Any Holes: If you drilled holes through walls, seal them with silicone or a similar sealant to prevent water ingress.
- Activate the Receiver: Follow the instructions provided by your satellite service provider to activate the receiver.
- Test the System
- Check Channels: Turn on the satellite receiver and TV, then check the channels to ensure everything is working properly.
Safety Tips:
Avoid Bad Weather: Do not install the dish in high winds or rain.
Use Proper Safety Gear: If working on a roof, wear non-slip shoes and consider using a safety harness.
By following these steps, you should be able to install a satellite dish successfully and enjoy your satellite TV service. By ExpressDishService.com


